From Old to Gold: Making Old Karaoke Gear Shine Again
The work of fixing old karaoke gear turns lost music items into great show tools. Every fix job, from old Pioneer laser disc players to old Yamaha setups, brings its own tech issues that need careful work and deep know-how.
Getting to Know Old Karaoke Gear
Old karaoke machines mark key points in fun tech. The top picks include karaoke setups from the 1990s, famous for their strong build and top sound. These often have laser disc tech, old-style audio parts, and classic LED screens that made the high point of karaoke.
Needed Fix Skills
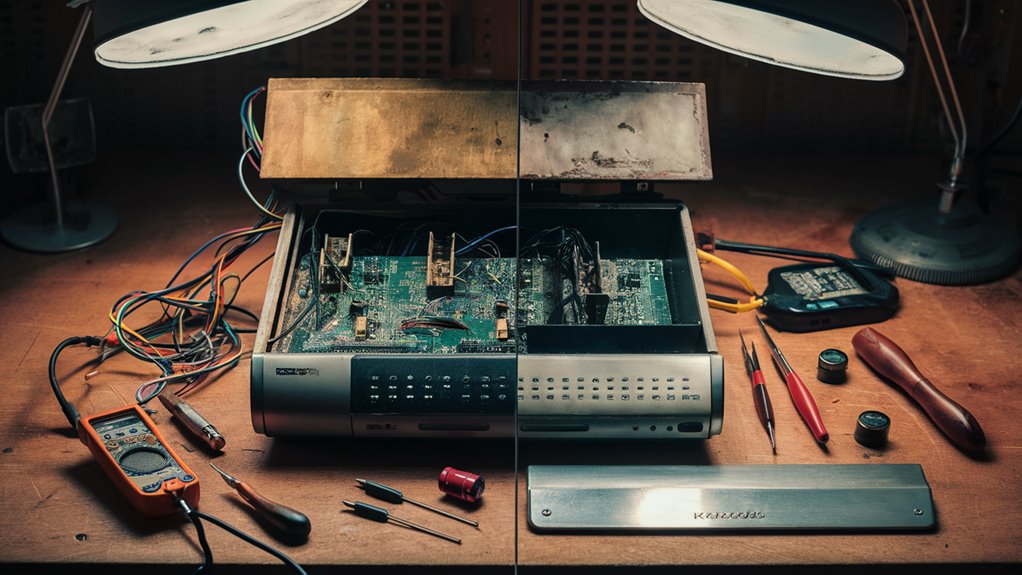
Doing it right needs:
- Deep clean of all moving parts
- Fixing laser lens aim
- Fixing audio lines
- Power unit tune-up
- Fixing speakers
Top Fix Ways
Good bringing back karaoke gear depends on knowing both old tech ideas and the ways they were made. Key areas to look at include better sound output, screen fixes, and drive care. These steps make sure it works well while keeping the old feel of the devices.
The Worth of Good Fixes
Well-fixed old karaoke gear often turns into wanted items, with great builds and unique bits not found in new ones. The most sought after include early digital types, pro setups, and limited makes that show the start of karaoke tech.
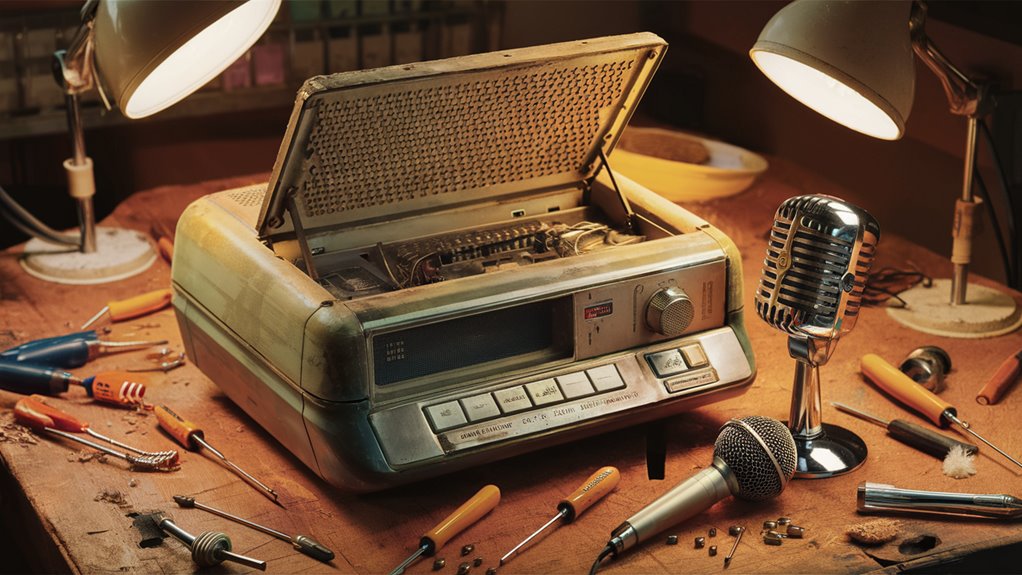
Usual Issues and Fixes
Usual Karaoke Machine Errors and Fixes: A Full Guide
Key Steps for Fixing Old Karaoke Systems
Belt Problems and Play Errors
Broken drive belts are the most common issue in old karaoke machines, leading to uneven play speeds or full stops. Put in new rubber parts that match the first ones to get it working right again.
Issues with Sound
Sound mess-ups often come from two main causes: bad sound links and broken capacitors. Do a full clean of links with isopropyl alcohol and change any bad capacitors. For rough volume controls, use special cleaner on the pots for easy use.
Screen Errors
Vacuum screens often have view problems in older units. Dim or half-gone screens mostly mean power part breaks, needing new capacitors in the power area. For LCD issues with missing parts, you can either put in a full new screen or fix broken links.
Mic Fixes
Mic problems usually come from old wires or broken parts. Check wire health well, and in bad cases, you might need a full new mic setup to get great sound again.
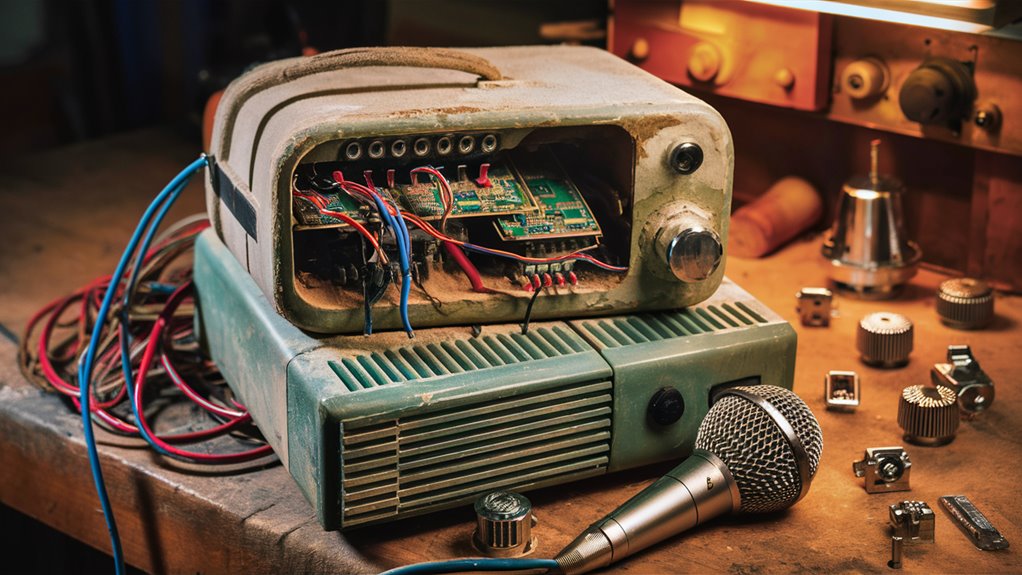
Needed Tools for Karaoke Fixes
Gear for Electronic Repairs
Top tools are key for good karaoke gear fixes. A top-notch multimeter is key to ensure a family-friendly check electric issues. Temp-controlled soldering setups with many tips let you swap parts well, while a desoldering tool helps take out broken parts well. Precise screwdriver kits and anti-static tools keep delicate electronics safe during fixes.
Cleaning and Upkeep Tools
Top cleaning tools make sure the gear works like new. High-grade contact cleaner takes oxidation and bits out of electrical links, while 99% isopropyl alcohol cleans fragile parts without leaving stuff behind. Air systems clear dust from hard spots, and special lens tools keep CD players good. Rubber belt cleaner makes tape parts work longer.
Ways to Keep Things Tidy and Documents in Order
Good part care makes fixing quicker and easier. Anti-static mats keep sensitive electronics safe, while magnetic part holders stop tiny bits from getting lost. Digital logs help keep track of what was fixed and how to put things back together. Pro storage setups keep spare parts tidy and easy to get to.
Parts You Must Have
Having the right parts ready makes fixes quick and cuts down on down time. Have these key items:
- New fuses with common power ratings
- Belts for different machine types
- Usual capacitors for sound fixes
- LEDs for screen fix
- Sound links for cable fixes
Where to Look for Old Karaoke Gear
Best Places to Find Old Karaoke Gear
Top Spots for Old Karaoke Tools
Old karaoke gear can be found in many trusted spots. Thrift shops, estate sales, and garage sales are great for rare finds. Online shops like eBay and Facebook Marketplace have lots of old karaoke setups with new ones added each day.
Smart Ways to Look for Gear
Set auto alerts for certain old karaoke models to stay ahead of other collectors. Use targeted search words like “old karaoke machine, “retro karaoke system,” and well-known makes like Pioneer, Sony, and Singing Machine from the 1980s and 1990s. Local ads and flea markets often have hidden gems from sellers who don’t know the real worth.
How to Check the Gear Before You Buy
Focus on getting full karaoke systems with all the original parts:
- Matching mics
- Original remotes
- First song books
- All cables needed
- Instructions from the maker
Even broken units are worth a look if they are still in one piece, Visit more Website as old audio parts can be hard to find. Join karaoke collector groups and special forums to get into special sales and learn about rare gear in certain places.