The Best Help to Karaoke Photography: How to Take Great Low-Light Photos at Karaoke
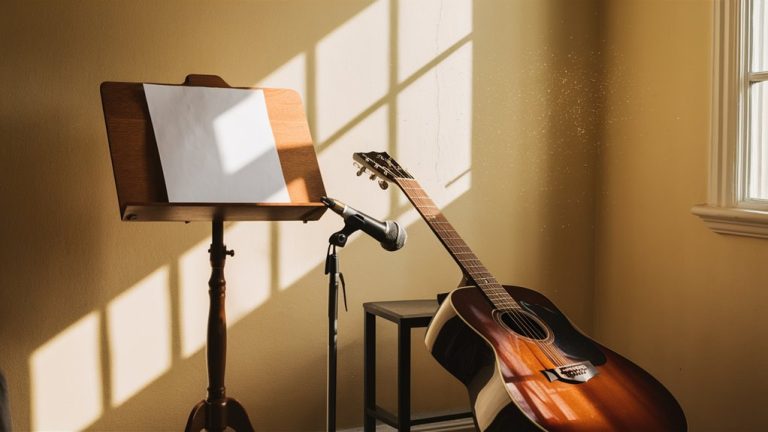
To take good pictures in a karaoke room (Korean karaoke room), you need photo tricks that work well in dim light with moving people. The special feel of karaoke spots makes it key for photographers to know both how to use their cameras well and how to catch the fun as it happens. 호치민 밤문화
Top Karaoke Photo Skills
The skill in karaoke photography comes from dealing with tricky light. The mix of soft light and bright colors builds a mood that asks for careful camera use. Photographers should be ready for quick changes from dark to light while keeping pictures clear.
Better Ways to Set Up in Karaoke Photography
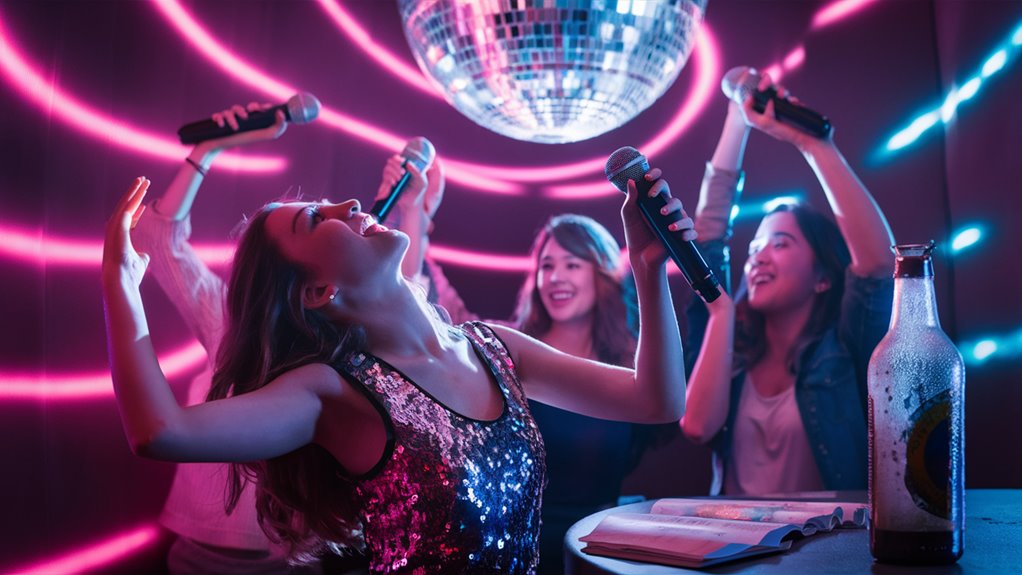
It’s key to stand right to get true karaoke moments. Find spots to catch both single singers and groups without getting in the way. Often, the best pictures show up when you catch the big feelings of well-loved songs, with singers all-in on the music.
Camera Tips for Dark Room Photos
- Set ISO between 1600-3200 for dark spots
- Use quick lenses (f/1.8 or more open) to catch more light
- Try burst mode to catch quick smiles
- Match shutter speed with action to keep it sharp
- Use spot metering to get the light right in mixed light
By getting these parts right, photographers can turn normal karaoke pictures into strong stories that show the fun and feel of karaoke.
How to Handle Karaoke Lighting
Karaoke room photography means dealing with special light needs that call for certain camera know-how.
The lively set-up of changing LED lights, disco balls, and screen glare gives both chances and hard spots for catching great shots.
Key Camera Setups
Basic Setup
- Turn camera to manual mode
- ISO range: 1600-3200
- Aperture: f/1.8 or wider
- Shutter speed: At least 1/60 second
More on Lighting Setup
Picking quick lenses is key to keeping picture quality while getting enough light.
Stand well to use the main screen light as a natural light source for faces, keeping away from back light troubles that can ruin photo quality.
When to Click
Knowing karaoke light patterns helps a lot. Most spots have set light moves:
- Blue light times
- Red light changes
- White light breaks
Keep an eye on these to take pictures in warm light times, which make skin look better and improve the shot’s feel.
How to Use Flash Right
When you use a flash in karaoke settings:
- Bounce flash off the ceiling or walls
- Don’t use a full-on flash, which makes too much white
- Keep mirror shine out of it
- Make the light soft and even
These moves make sure top-quality pictures that hold on to the real karaoke feel in your photos.
Must-Know Camera Setups for Dark Photos
Learn Basic Camera Skills
Right camera setups are a must for great photos in tough light.
Knowing these key setups helps photographers manage the quick changes in light and movement in dark places.
ISO and How Much Light
Set your ISO levels between 1600-3200 to beat low light but keep the picture good. More ISO can make too much grain.
Use a big aperture (f/1.8 to f/2.8) to pull in a lot of light and make a soft background.
Keep a quick shutter of at least 1/60 second to stop blur, going faster for moving folks.
Better Camera Tools
Turn on spot metering mode to take on high-contrast spots with bright and dark mix.
Use Auto-ISO with set minimum shutter times to stop motion blur.
Auto focus that keeps going (AI Servo) is best for following moving things.
Top Picture Quality Tools
Shoot in RAW to keep the most detail for later touch-ups.
If you can, turn on in-camera stabilization.
These better setups make sure clear, right light pictures even in hard light, giving top-quality results all the time.
Tips for Group Photos: Get It Right
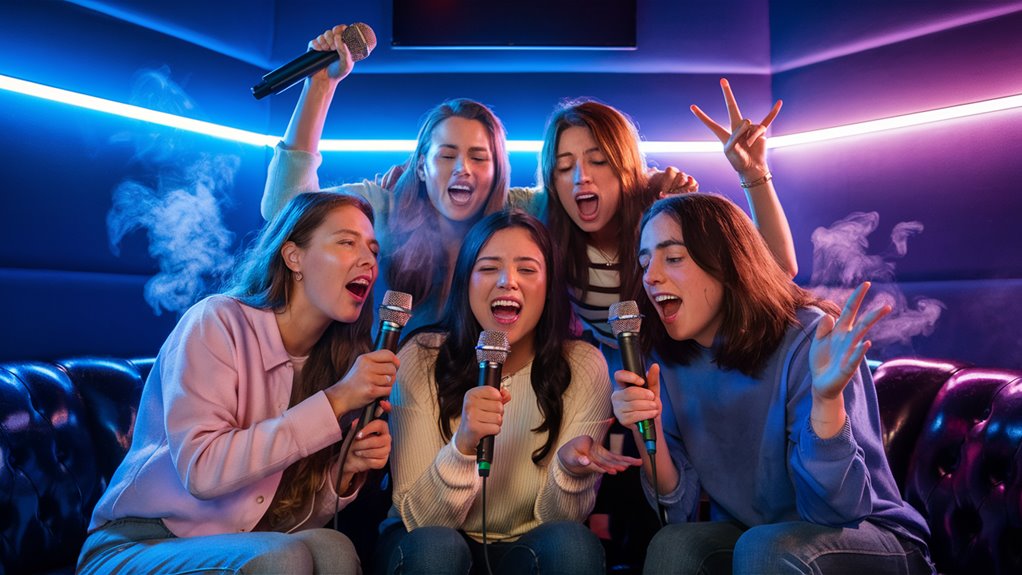
How to Stand People
Smart group set-up is key for great group pictures.
Put people in a triangle or half-circle to make it look deep and keep away from the dull straight line that drops photo quality. This set-up keeps it lively and looks pro.
Where to Place People Based on Height
Make sure everyone can be seen by placing tall people towards the back and sides, and shorter folks in front.
This tiered set-up makes sure all faces are clear and well-lit.
For big groups, use a two-row set-up with the back row standing and the front row sitting, to use space well and balance the shot.
How to Take Action Shots
Learn candid action shots by standing in spots that let you catch both the singers and the scene.
An ideal photo spot is a bit to the side, letting you see both the active singers and the crowd’s faces.
Timing matters – catch big parts like the chorus, and place the main singer a bit off center while getting the crowd’s look for more story and impact in the shot.
More on How to Set Up
- Using the frame well to show the energy of the show
- Setting lights right for clear faces
- Mixing levels for depth and shape
- Adding things people do for more to the story
- Pulling in the whole scene for full picture
How to Catch the Best Karaoke Times: True vs Planned Photos
Getting True Photos in Karaoke
Real karaoke times pop with good candid photography. The trick to catching real feelings is to snap unplanned smiles – from big laughs to loud singing.
Stand in a spot out of the way to keep the real feel while being ready for those big feeling times.
How to Set Up Planned Photos
Planned group shots are big in karaoke photography. The best time for these is between songs, when everyone is still pumped.
Make it hit hard by using props well and mic poses, and keep these shoots short – under 30 seconds to keep the fun going.
When to Snap
Best Times for True Shots:
- High points of songs
- Times with friends being natural
- When people react to the act
When to Set Up Shots:
- Between songs
- When the group shows props
- When everyone does a set pose
- When outfits match
Doing well in karaoke photography means mixing true and set-up styles well. Feel the room’s vibe and switch styles smoothly to catch the whole karaoke fun.
This mix makes sure you keep both unplanned joy and well-set memories.
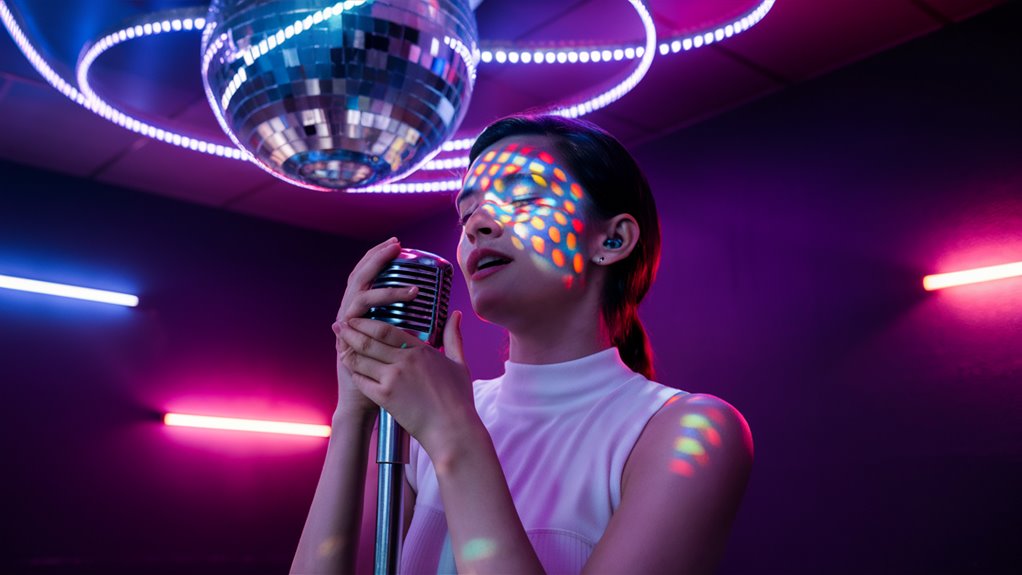
Best Spots to Take Single Singer Pictures
Top Spots to Catch Singers
Pro photo spots are key for taking great single singer pictures.
An ideal higher spot, set 15-20 degrees above eye level, makes a look that makes the neck look longer and cuts down on shadows under the chin.
The Best Diagonal Way
The 45-degree diagonal spot is the best for shooting single acts.
This smart spot catches both the face’s feelings and body moves as they sing into the mic.
Mixing diagonal and straight front shots works well in strong singing moments.
Dramatic Low-Angle Shots
Low-angle shots can add a big feel when done right.
Place the camera 30 degrees below eye level to make cool outlines against the stage lights, working well during high parts and big moves.
Be careful with very low angles to keep away from making the face look weird.
How Close to Stand
Keep a 6-8 foot range for close-up shots of the act, making the frame just right while stopping lens odd looks. Budget Norebang Décor: Enhancing Vibes Without Breaking the Bank
This space lets photographers catch real feeling times while keeping picture quality and true face looks.
Things to Think on
- Where the mic is by the face
- How stage lights work with camera spots
- Where acts move for tracking shots
- Focus points for catching feelings